Intro to Audio Recording
Audio recording can be intimidating, but once you get the hang of it, it becomes as easy as pressing record. There’s a logic that carries through all of it, and once it’s in your head you won’t be able to forget it!
So then, that common thread is basically just reducing the background noise, while making sure you also don’t blow out the microphone, also known as “peaking”. There’s a lot of ways you can spend a tonne of money on getting your audio as clean as possible, with millions being spent on rooms that reduce noise as much as possible, and designing them with the best acoustics they can. But you can get 90% of the way there with very little effort or money.
Choosing a Microphone
The thing that will make the biggest difference in your audio quality is the microphone that you use. For doing voiceovers like the one we’ll be making in this workshop, a cardiod style microphone generally works best. The Blue Snowball, Blue Yeti (like the one that we have in the recording suite), and the Audio Technica AT2020 are all fantastic options that are fairly affordable and easy to use. Our recording booth in the Prac is equipped with a Blue Yeti, and we have them available to borrow from the Creative Technologies office as well.
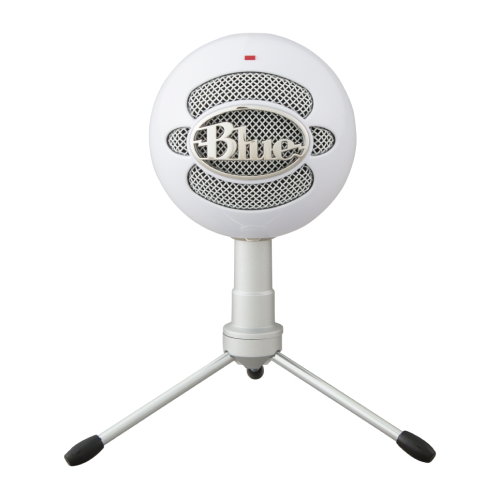
Blue Snowball
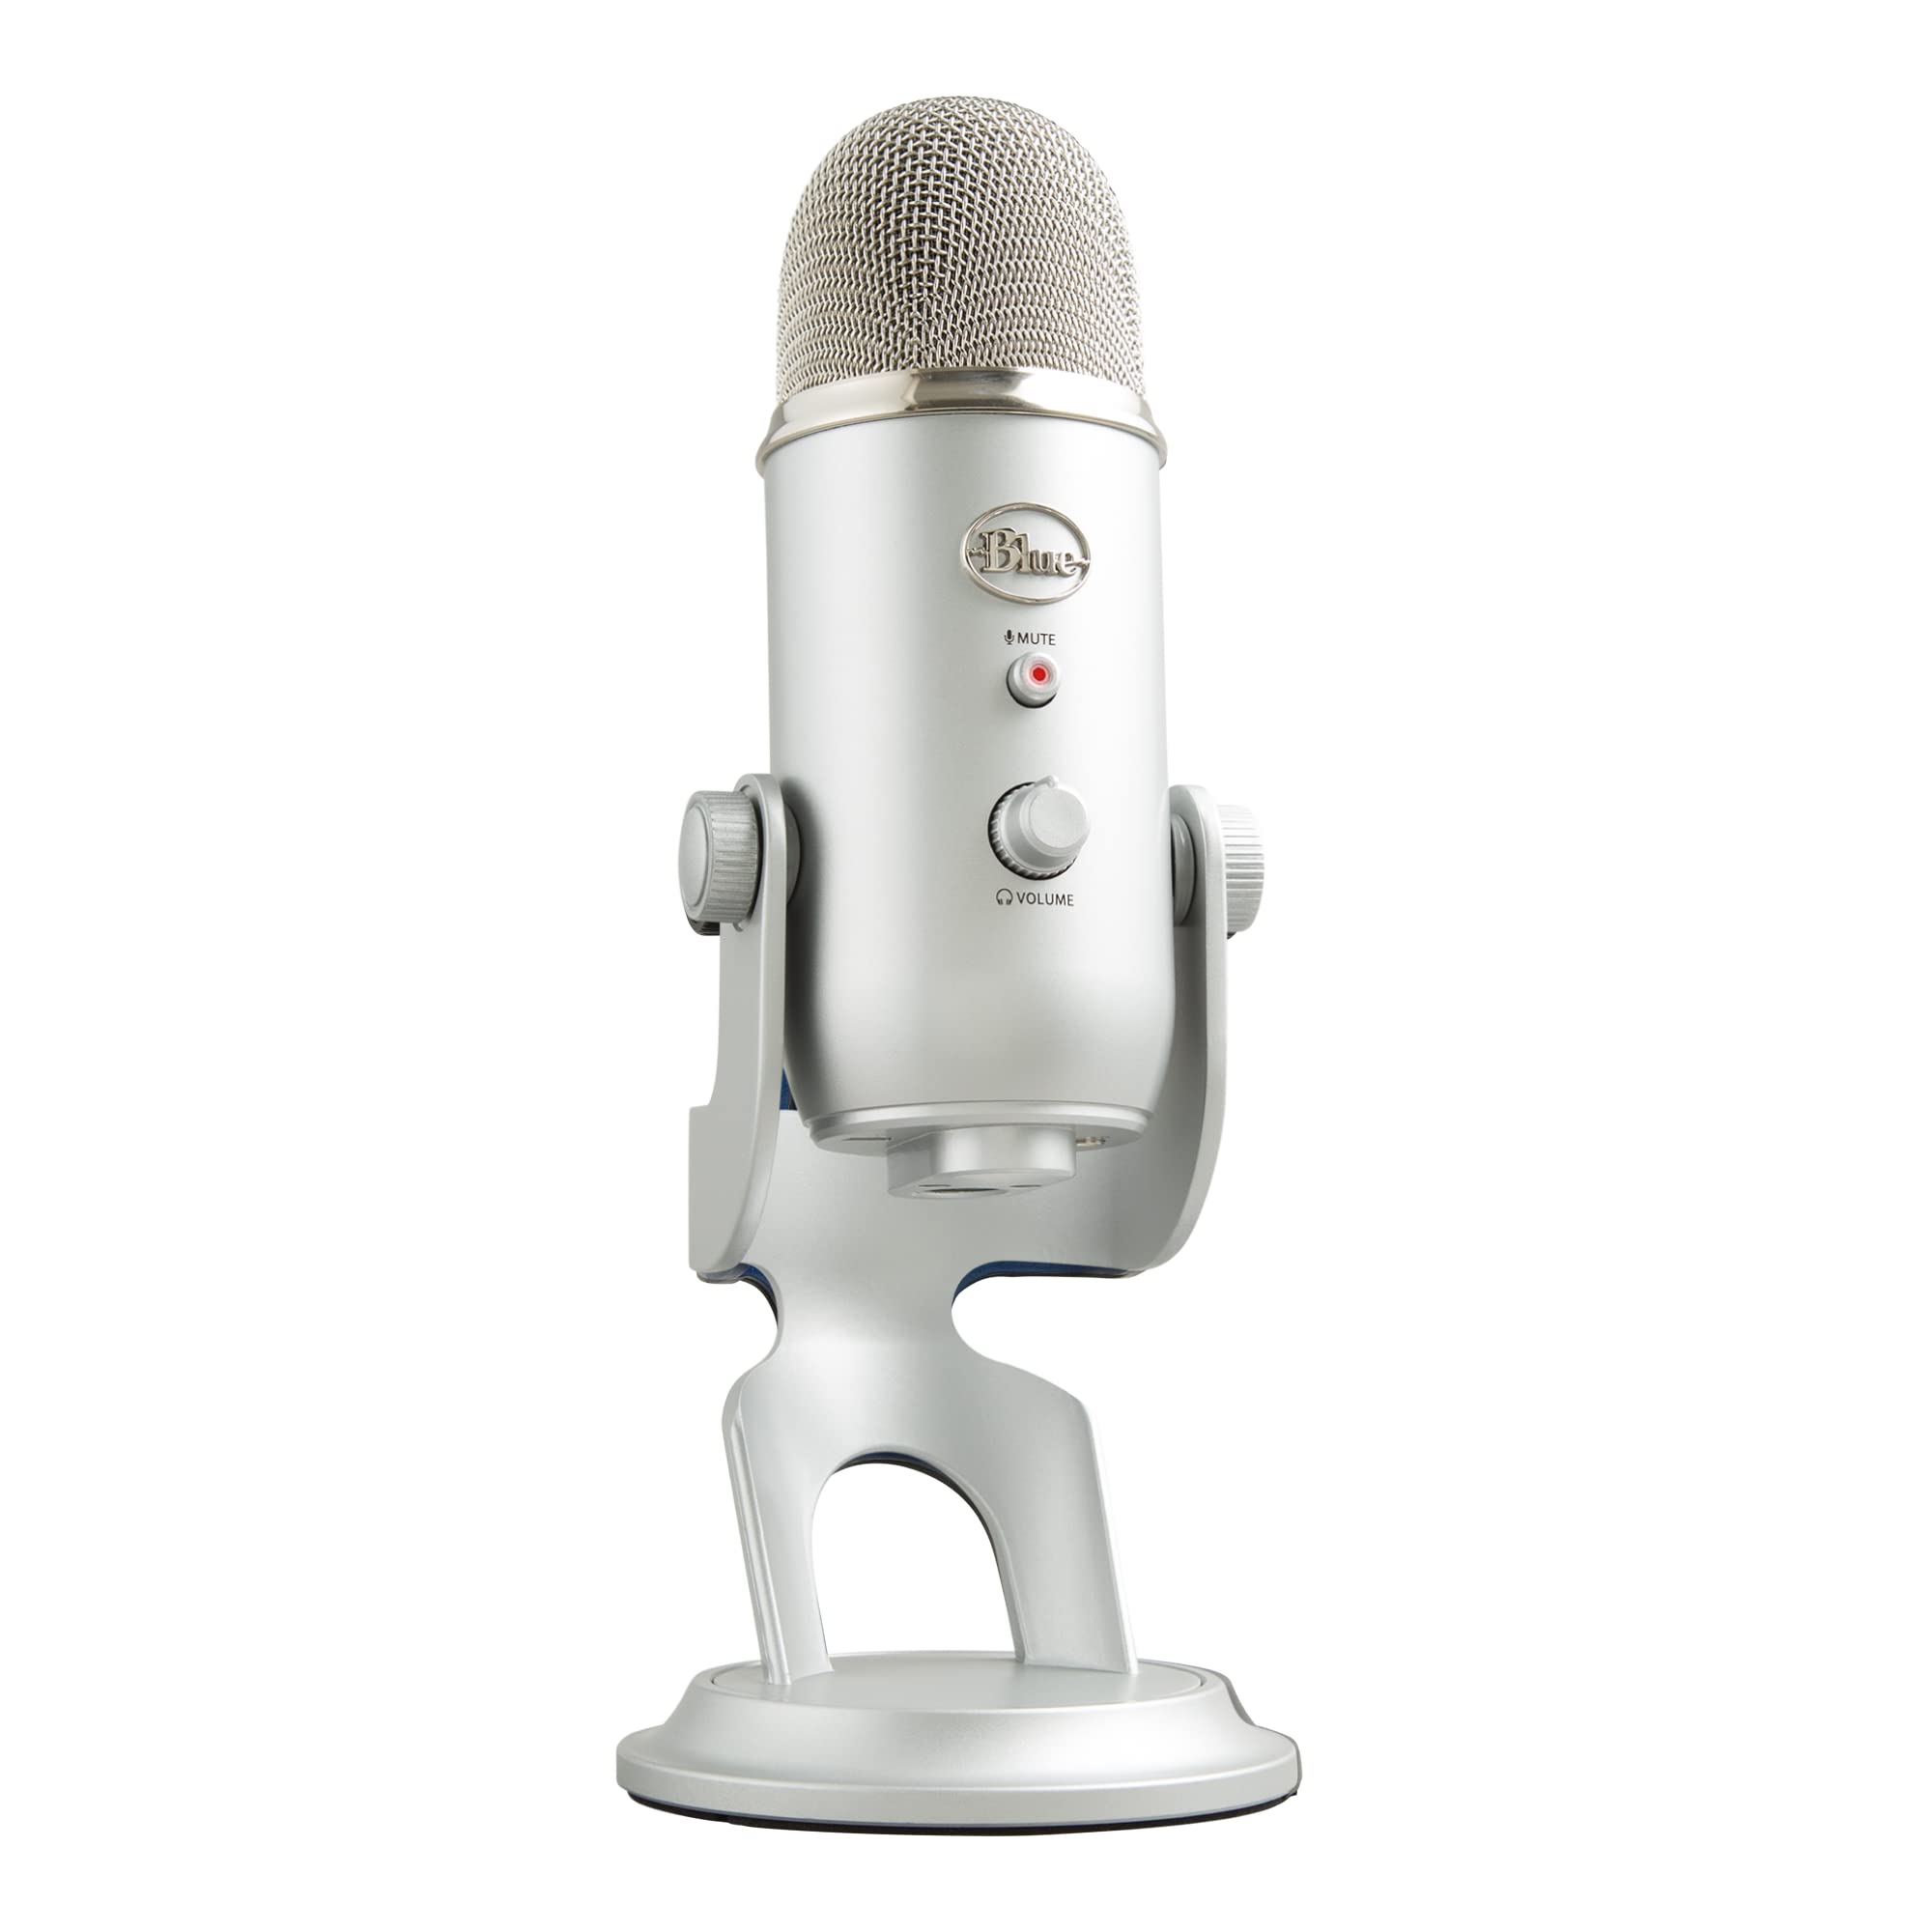
Blue Yeti
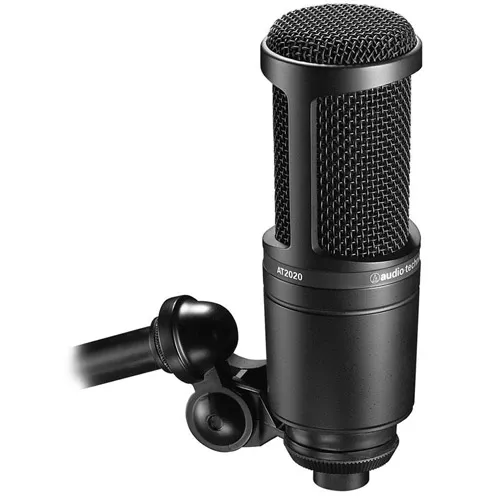
Audio Technica AT2020
But those aren’t the best options for every circumstance. For example when you’re recording audio on the move, such as when you’re shooting a video, a lavalier (or lav) microphone works best. You can get wireless models that clip to your collar, and make it easy to keep your voice as isolated as possible. We use this style of microphone in our FlexLabs, using the Rode GO II.
NOTE: In those circumstances, it can actually help to have some background noise come through to convey a sense of place. It can help connect the listener better with the content!
Recording with your Phone
Of course, you don’t always need, and sometimes don’t have access to a standalone microphone. In photography, there is a saying that the best camera is the one you have on you, and the same applies here! I’ll hand it off to a very good friend of ProCom, Nikole, to give you some tips.
If you’re on Android, there’s a lot of options out there for recorders, but the one I would recommend is Recorder, made by Google themselves. It’s simple, lightweight, and has a handy feature where it can transcribe the audio for you, even taking note of who is speaking.
Minimizing Noise
So, you’ve got your mic in front of you, but now what. You hit record, but the audio you get out still doesn’t sound amazing. It might even sound worse than your phone’s mic, picking up way more in the room than you want it to.
So how do we reduce that noise? The best way is to change where you’re recording. If you’re in a big room with a lot of hard surfaces, the sound will reflect off those, and echo around the room. By moving to a smaller space with a lot of soft materials, you will dramatically reduce the noise. You could use things like foam sound panels to reduce this effect, but for a 0 cost option, you can climb into your closet, or toss a blanket or a duvet over your head.
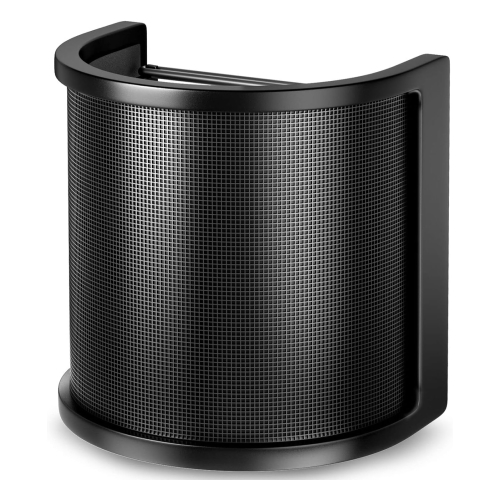
Another thing you might notice is that when you have a “p” sound, there will be an irritating pop sound that comes along with it. This is known as a “plosive”, and can be difficult to edit out in post if you don’t really know what you’re doing with audio production. You can reduce these by trying to make sure you aren’t speaking directly into the mic, but this can be difficult with the cardiod style without losing quality in other ways. The best way is to use a pop filter, which can either look like a screen you position in front of the mic like in the first image, or attach to the mic like in the second image.
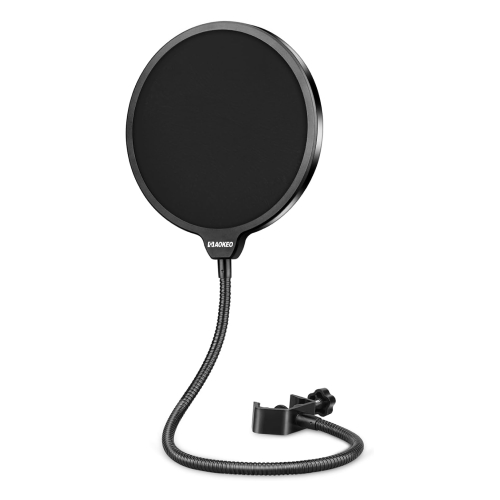
To explain a little more about this, I’ll hand it back to the wonderful Nikole one more time.